Plan With Me May Bullet Journal Layout
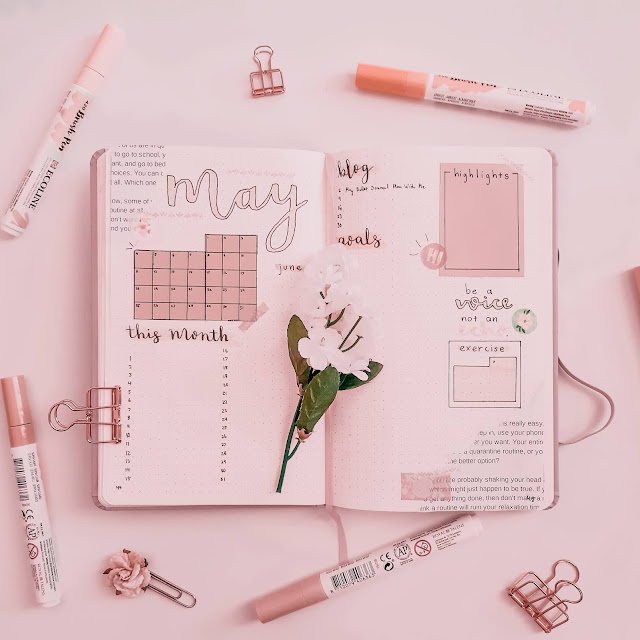
April went by so fast! I can't believe it is already May! I kept busy during April though, so that is why April was really short. Last month, I completed four out of five goals of my goals, which was how many I thought I would be able to complete. For this month's bullet journal layout, I went with a pink scrapbook theme, which turned out pretty cute! :)

Side Note - This post may contain affiliate links, which means if you buy something from one of these links, I may receive a small commission at no cost to you. For more information, you can read my privacy policy. Thank you for supporting my blog. :)
Updated for 2024
Plan With Me May Bullet Journal Layout
Recently, I have been creating more scrapbook style bullet journal layouts and I have been loving it! They are really fun and easy to make. This bullet journal layout is a lot different from last month's minimal theme.
This time, I went a little wild and used paper, washi tape, and a bunch of different brush markers. For comparison, on April's theme, I only used one green brush marker and my black Sharpie pen, which is my usual writing utensil.
I got three packs of Ecoline brush markers (Click to read my review) and I really wanted to make a monthly layout with them, so I used all five of the Ecoline brush markers that came in the Beige Pink pack to make this layout. Because they all were part of the same pack, they created a very nice color scheme.
May Bullet Journal Layout Supplies
I went with all of my usual bullet journal layout supplies, and a few extras for this month, because I did the bullet journal layout scrapbook style.
- Ecoline Brush Markers - I really like these brush markers not only because they come in beautiful shades, but also because they have really flexible tips and smooth ink, which makes it really easy to use them. For this bullet journal layout, I used the Beige Pink ones.
- Tombow Fudenosuke Brush Pens - I totally recommend these brush pens for anyone. If you haven't learned how to do calligraphy before, but you want to, then these are great pens to start with! I used the hard-tip Fudenosuke brush pen for this layout.
- Black Sharpie Pen - This is my usual writing instrument. :)
- Mechanical Pencil - I sketch out parts of my layout in pencil before I use a pen, but I started doing all of my calligraphy freehand.
- A Ruler - I don't know about you, but I love straight perfect lines. I have to use a ruler!
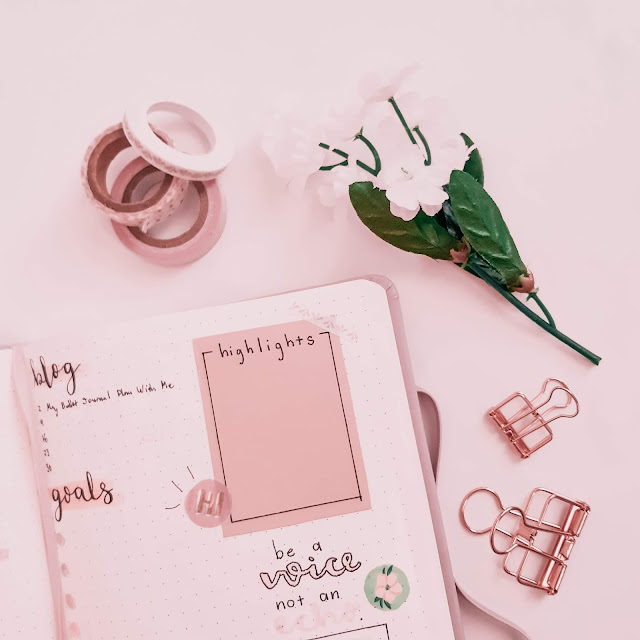
- Washi Tape - Washi tape is so pretty, and it makes any layout look more put together instantly. It is also perfect to use on scrapbook bullet journal layouts so if you want to do more scrapbook layouts, then you are going to want to get your hands on some washi tape! The washi tape on this bullet journal layout is from Michaels, but some of it was bought a while ago, so it may not be sold there anymore.
- Paper - I used beige cardstock and printer paper with words on it, which I printed myself, on this layout.
- Glue Stick - I used a glue stick to pastedown the paper and cardstock. It holds pretty well.
Those are all of the supplies I used for this layout! Now let's talk about how I put it all together.

Header + Mini Calendar
I started out this layout by writing in "May" with one of the Ecoline brush markers. Then I outlined it with a Sharpie pen. It turned out off-centered, so I decided to add some paper in the corner to make it look like I did it off-centered on purpose.
Whenever your header is off-centered, you can just add some decoration to the side which needs something else, and then it will look like you did it on purpose. For example, you could add washi tape, a doodle, paper, or a sticker.
The paper with words on it is actually one of the posts on this blog. I just printed it out, ripped off a piece, and then glued it on the page. Then I added the washi tape. I add the mini calendar in on beige cardstock to make it pop! Last month, I didn't add the mini calendar, and I decided that I really like having the mini calendar and the dates below.
I left a small space for "June" because I didn't really use it in April, so I might not even add one next month if I don't use it this month.

Highlights + Goals
At the top, I added my "Blog" section, as usual, with the dates I am going to post on and enough room for the blog post title.
Below that, I have my "Goals" section. I used the Ecoline brush pens to add the circles, which I will put a check in, once I finish the goal. I guess they are check-circles? I am making five goals as usual, and each of these mini goals are steps to help me reach my twenty-one goals for the year. If you aren't familiar with my goal-setting system, you can read about it here.
For my "Highlights" section I also used the beige cardstock to tie it into the theme. I wanted to make it bigger than last month's "Highlights" section because even though I am in quarantine, I have been accomplishing a lot of things, but it turned out being smaller. I will just have to write tinier, so I have enough room for all of my highlights of the month. This is one of my favorite aspects of my monthly layouts. If you are looking to add something new to your layouts, then you should totally try it.
Habit Tracker + Tasks
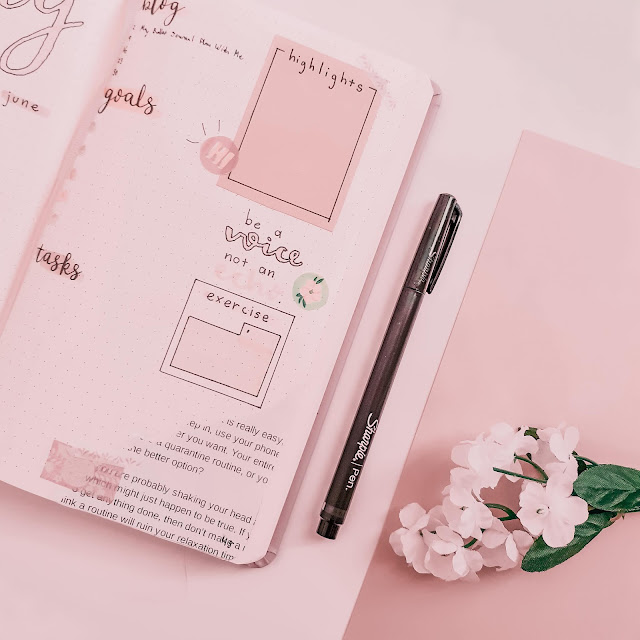
My "Tasks" section is smaller than April's because I don't have a lot to do during quarantine, so I mostly focus on achieving my goals for the month (and relaxing 😊).
In April, I did my one habit of getting some sunshine every day, so hopefully, it is a habit I will continue from now on. I have been experimenting with only doing one habit because it makes it a lot easier to do it every day and if I do it every day then it is a lot more likely to turn into a habit. In May, I am tracking exercise because I want to do at home workouts at least five times a week. What about you? How do you do habit tracking?
Then I added the quote "Be a voice, not an echo" because you want to be your own person and not just a copy of another person. Be yourself! I outlined "voice" in black, so it is a lot easier to see than "echo".
At the bottom of the page, I glued on some more of the paper with words on it, and then I added some washi tape.

Plan With Me May Bullet Journal Layout
I really like making scrapbook bullet journal layouts, even though they do take a little bit more time because you have to cut, rip, and glue things. This layout is one of my new favorites because I love the pink shades! What do you think? Would you like to see a post with tips on how to make scrapbook bullet journal layouts?
If you liked this post, then read these ones too.
- How I am Goal Setting for 2020 in my Bullet Journal
- 36 Bullet Journal Layout Ideas for When You are Bored
- Using Ecoline Brush Pens in My Bullet Journal
- How to Bullet Journal When Feeling Uninspired
I hope you enjoyed reading about how I set up my May bullet journal layout!

Pin this post, so you have inspiration for your next monthly layout. Thank you! :)


0 comments